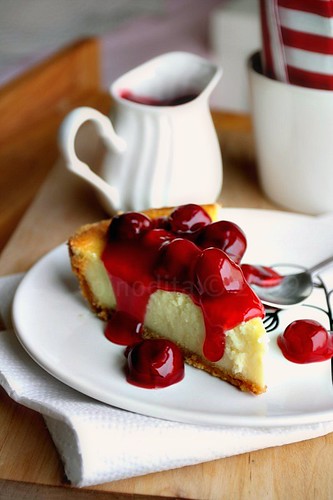
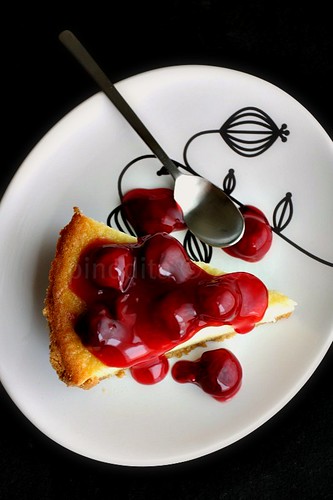
Classic Sour Cherry Pie with Lattice Crust
adapted from : Bon Appétit Magazine June 2008
Ingredients :
CRUST
* 2 1/2 cups unbleached all purpose flour
* 1 tablespoon sugar
* 3/4 teaspoon salt
* 1 cup (2 sticks) chilled unsalted butter, cut into 1/2-inch cubes
* 5 tablespoons (or more) ice water
FILLING
* 1 cup plus 1 tablespoon sugar
* 3 tablespoons cornstarch
* 1/4 teaspoon salt
* 5 cups whole pitted sour cherries or dark sweet cherries (about 2 pounds whole unpitted cherries)
* 1 teaspoon fresh lemon juice (if using sour cherries) or 3 tablespoons fresh lemon juice (if using dark sweet cherries)
* 1/2 teaspoon vanilla extract
* 2 tablespoons (1/4 stick) unsalted butter, cut into 1/2-inch cubes
* 1 tablespoon (about) milk
* Vanilla ice cream
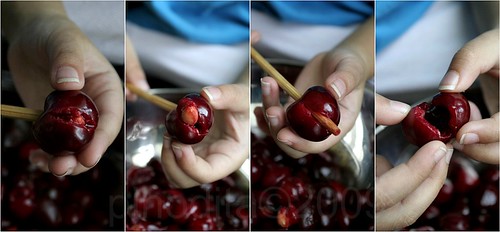
(Tips : Since I don't have cherry pitter, I used a Chopstick to push the pit through the fruit)
Directions :
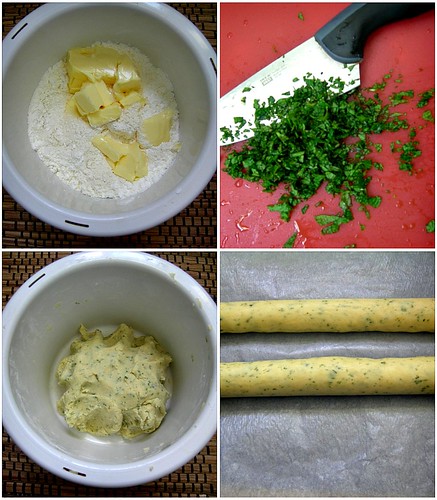
CRUST
Whisk flour, sugar, and salt in large bowl to blend. Add butter and rub in with fingertips until small pea-size clumps form. Add 5 tablespoons ice water; mix lightly with fork until dough holds together when small pieces are pressed between fingertips, adding more water by teaspoonfuls if dough is dry. Gather dough together; divide into 2 pieces. Form each piece into ball, then flatten into disk and wrap in plastic. Refrigerate at least 30 minutes. DO AHEAD Can be made 2 days ahead. Keep chilled. Let dough soften slightly before rolling out.
FILLING :
1.Position rack in lower third of oven and preheat to 425°F. Whisk 1 cup sugar, cornstarch, and salt in medium bowl to blend. Stir in cherries, lemon juice, and vanilla; set aside.
2. Roll out 1 dough disk on floured surface to 12-inch round. Transfer to 9-inch glass pie dish. Trim dough overhang to 1/2 inch. Roll out second dough disk on floured surface to 12-inch round. Using large knife or pastry wheel with fluted edge, cut ten 3/4-inch-wide strips from dough round. Transfer filling to dough-lined dish, mounding slightly in center. Dot with butter. Arrange dough strips atop filling, forming lattice; trim dough strip overhang to 1/2 inch. Fold bottom crust up over ends of strips and crimp edges to seal. Brush lattice crust (not edges) with milk. Sprinkle lattice with remaining 1 tablespoon sugar.
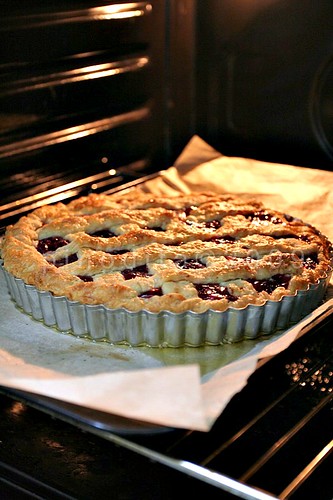
3. Place pie on rimmed baking sheet and bake 15 minutes. Reduce oven temperature to 375°F. Bake pie until filling is bubbling and crust is golden brown, covering edges with foil collar if browning too quickly, about 1 hour longer. Transfer pie to rack and cool completely. Cut into wedges and serve with vanilla ice cream.

Another Pie recipes ;
1. Banofee Pies
2. Apple Tart


![[Indonesian Food] wajik (diamond cake) collage](http://farm4.static.flickr.com/3553/3551867552_4b7fa7366c.jpg)